Publish a Jekyll BitBucket website with Docker

Written by
Patrick Melo
- Introduction
- Docker commands
- Step 1 - Create a new website on Bitbucket
- Step 2 - Create a new Jekyll site
- Step 3 - Preview the Jekyll site
- Step 4 - Build the Jekyll site
- Step 5 - Commit and push the changes to Bitbucket
- Summary
- Troubleshooting
- Versions
- References
Introduction
This runs Jekyll in a docker container which removes the need to install anything on your machine except for Docker and Git.
I have a free account on GitHub and in order to use GitHub pages, the repo for the site needs to be public and I wanted to keep my commit history private. To address this, I hosted the site on Bitbucket which allows free accounts to publish the site on a private repo.
I also didn’t want to install ruby on my machine. To address this, I use a Docker image. This avoids having to install anything other than Docker.
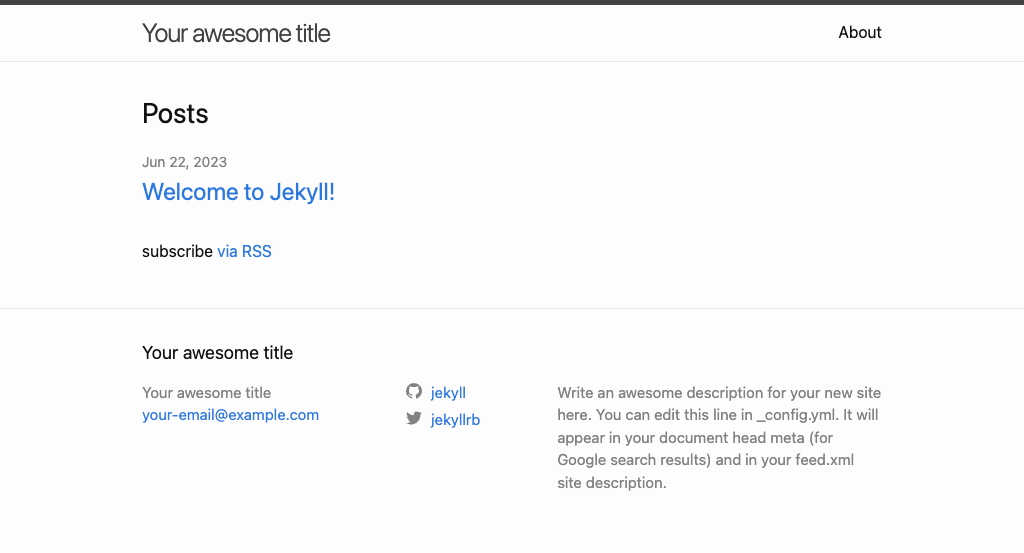
The site ends up looking like the screenshot below:
Docker commands
These commands all use code in jekyll.sh. You can find more details in script documentation.
Step 1 - Create a new website on Bitbucket
To create a website on Bitbucket you need to create a repo with the name {username}.bitbucket.io. It can be private. You can learn more about this on Bitbucket.
git clone git@bitbucket.org:{username}/{username}.bitbucket.io.git
You may want to commit an initial page like index.html to make sure that you can see it .
cd {username}.bitbucket.io
echo hello world > index.html
git add index.html
git commit -m "Added index page."
git push
You can now view the site at the following address:
https://{username}.bitbucket.io
Step 2 - Create a new Jekyll site
This command will create the new docs site.
jekyll.sh new docs
Subsequent commands will require you to be in the docs directory.
cd docs
This will remove the configuration that tells git to ignore the generated pages.
sed -i '' -e '/_site/d' .gitignore
Modify the _config.yml so that the baseurl is set to /docs/_site:
baseurl: "/docs/_site" # the subpath of your site, e.g. /blog
Step 3 - Preview the Jekyll site
Preview the site with the following command:
jekyll.sh jekyll serve
The preview will be available at the following address:
http://localhost:4000/docs/_site/
Hit Ctrl+C to exit out of this when you’re done.
Step 4 - Build the Jekyll site
You will need to “build” the site before you can publish it on bitbucket. This command will generate the files so that they can be published on Bitbucket:
jekyll.sh jekyll build
Step 5 - Commit and push the changes to Bitbucket
Then we need to commit and push the changes to bitbucket:
git add .
git commit -m 'Added Jekyll site.'
git push
You can now view the Jekyll site at the following address:
https://{username}.bitbucket.io/docs/_site/
The site should look identical in step 3.
Summary
Once you create the simple site, you can repeat steps 3-5 to add content to the site. If you change config.yml config file then you will to restart the jekyll serve command.
I’ve also written a script that allows you to simplify the jekyll commands so that you can simply call e new, e serve, or e build.
Troubleshooting
Q: When I publish my site to GitHub, the style is isn’t correct.
A: Make sure that your baseurl is configured properly. If you’ve followed the steps in the instructions above, it should be set to “/docs/_site”. If you’ve changed the path to the _site folder, then you will need to change the baseurl accordingly.
Versions
This documentation was written with:
- MacBook Pro 13-inch, M2, 2022
- macOS Ventura 13.4
- Jekyll Docker image 400b8d1569f1
Comments
Join the discussion for this article on this ticket. Comments appear on this page instantly.